My Blog List
-
-
-
Friday. New Kits loaded to PFD8 years ago


Subscribe To


 Posts
All Comments
Posts
All Comments
Saturday, December 14, 2013
 Life is a Dream - PTU Snow Queen kit Barbara Jensen tube!
 Posted by
Karee
Posted by
Karee
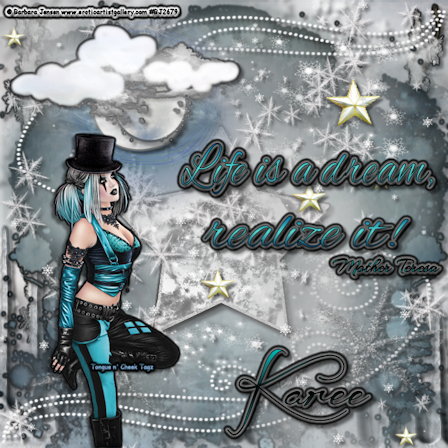
Start with your canvas of 700x700. I used two masks. Mask6bywynter and MC_Mask 13. Most of my masks are from Creative Misfits and Vix, but these are from Creative Misfits here. I used papers 2 and 3. You can gradient glow and drop shadow, wherever you wish. I do it a lot to make things stand out, or to make them look darker. Element 3 is right in front of the back paper. Place it how you like to be able to see as much as you like. Element 5 is front of that the same way as the element before. Element 19 is in front of that. I placed one where I wanted it, duplicated, mirrored, and flipped, so the would be going different ways. Merge those layers together, when they are placed right. Element 72 is placed in front of that to show as much as you want it to with a duplicate and flip. Plus, you merge the layers together. Element 70 is in front of that one with an inner bevel from eye candy 3.1 and drop shadow to make it seen. Your front paper is in front of that with the second mask. Element 51 is in front of that paper. Place the first one where you want it, duplicate, move the second one where you want it, and merge the layers down. Element 46 is in front of that one, sized smaller to fit, and made to stand out. Element 72 is placed in front of that where you want it. Element 4 is in front of that placed how you want it to look. Element 2 is in front of that with a placement of how you like. Element 65 is in front of that with a placement of how you prefer it to look. Element 21 is in front of that fit to the canvas. Element 37 is in front of that around the moon elements with the other element of 26 in front of it sized to fit where it needs to be. Element 73 is placed behind the moon element to look like you want, so element 24 is in front of it sized to fit. In front of that, I put element 8 sized to fit and look right. The tube is the awesome work of Barbara Jensen with a quote by Mother Teresa on it. I love the whole quote, but you can't fit it all on a tag. From there, you make sure you have a copyright, watermark, and a name on it. Below, I have other tags I made with this background. They are different looks for it. One has the work of Alfadesire, and the other two have the work of Disco_science. Anyone with questions can find my email address on the right side, and you can show me what you did with the same kit! I would love to see what you did with my tut. Hugz~~ Karee



 Labels:

Sunday, November 24, 2013
Christmas with Tatyana Haustova, etc.
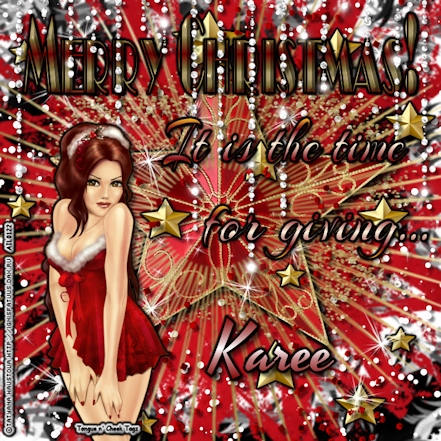
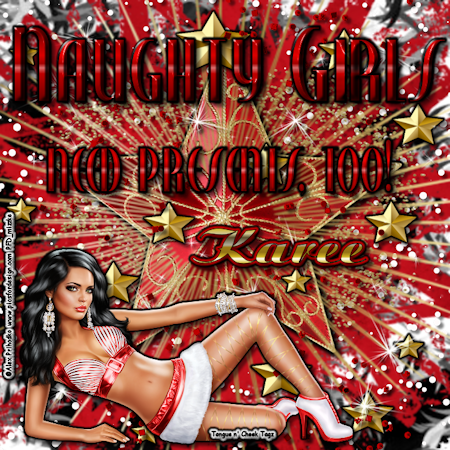
This is a tag I made with the cute girl from Tatyana Haustova. You can get the tube here. The kit I used is called Holly Jolly Joy by Niqui's Designs here. I hope you all have a wonderful Thanksgiving, and a Joyful Christmas! There are three more with one an On Top tag that I did with this kit, but I used Alex Prihodko and Keith Garvey!


Saturday, November 16, 2013
PTU - Keith Garvey Before You Judge Me

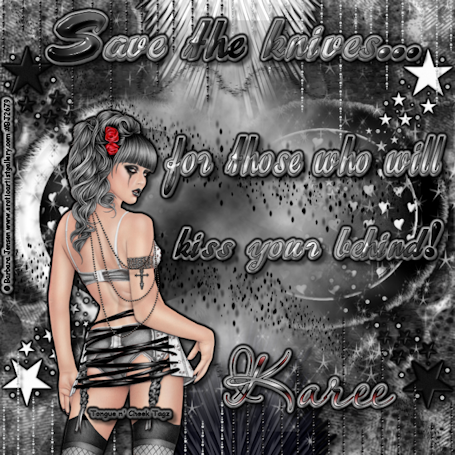
I used the wonderful work of Keith Garvey on this that you can get here. My scrap kit is called Black Velvet by Starz Creationz that you can get here. I use PSP X2 Ultimate, so let's get started. Using a 700 x 700, I started with three papers 5, 6, and 10. I used three different masks called SD Mask #2, SKDS circle mask 2, and Sparkle Mask 1 by Tonya. They are all available at Creative Misfits here. I play with my masks by stretching and making them smaller. I took element 43 Feather, and element 46 White Feather. Each of them, I placed where I wanted and, throughout, I gradient glowed and dropped shadow where I liked. I took frame 6 and frame 7 to size them how I wanted. Individually, I sized each and used the magic wand. Selections, Modify, and expand to what size will cover the size you make with element 64. If you need to change element 64's size to fit, you can resize and make it bigger. I promoted layer, deleted the old layer, and put the promoted layer behind the frame for each one. Then, I merged both frames and ball layers together, placed them where I wanted them side by side, and I merged those layers down together. In front of that, is element 20 Sparkles that I put where I wanted, duplicated, and mirrored, so I could have them where I wanted. I took elements 30 White Starz and 31 Black Starz, so I could have them in the corners I wanted. With each element, I duplicated, mirrored, and flipped, so each color would be in separate corners. I merged the Black Starz together and the White Starz layers together for more control. My paper 5 and mask by Tonya are in front of that, and I made it smaller with a flip to it, so my element 11 Glitter could be seen in the image. In front of the paper/mask layer, there is element 12 Splatter placed where I wanted, duplicated, and mirrored. They are not together and are far enough apart, so you can see both splatters from below and above. I placed my words Judge Me in the next layer, but for the background you use the 11 Glitter where you want it and flip it to have two on the image. For the front layer of my background, I place element 5 and element 6 Pearls in the places from the top that I wanted, merged the layers, duplicated, and flipped, so it could be at the bottom, too. From there, I put my tube, my copyright, watermark, wording, and name on it. Below are two more I made with the background changed a little. Both are using the wonderful art work of Barbara Jensen you can get here. Hope you enjoy the tut, and you can always send me remarks, show off tags, questions, etc. at the email on my page.
Saturday, November 9, 2013
No BS featuring Freya Langford-Sidebottom - FTU
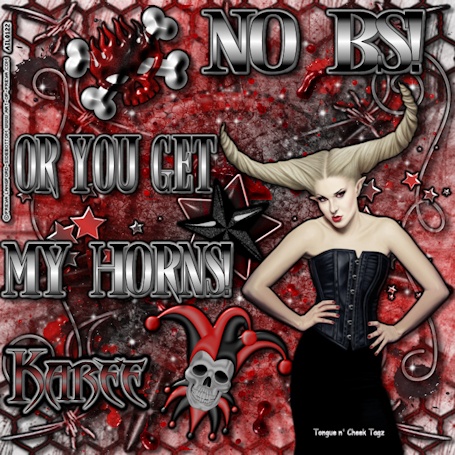
My Welcome Back Tut here is using Freya Langford-Sidebottom's tube Taurus available at AIL here. The kit is Alika's Scraps psp asylum. You can get it here. Ok, I start with a 700x700 cause I like them big. Plus, you can gradient glow and drop shadow, whenever you like with whatever you want. I used papers 7, 8, and 10 with three different masks. I put as05 in the upper right hand corner where I wanted it, duplicated the layer, and mirrored it. I duplicated that layer and flipped it, and I, again, mirrored. Two of the papers are in front of that, then you put as99 and place as you want. As01 was placed in the upper left corner, duplicated, mirrored, and flipped. I merged those two layers together. The same was done with as02, except on the other side. As29 was put on, duplicated, and mirrored, so they cross. As03 I put on the side like I wanted, duplicated, mirrored, and flipped, so there is one on either side. The third paper is in front of all that. As81 I put in the middle where I wanted and used effect Alien Skin Eye Candy bevel to make it look thicker. In front of that, I put as110 and placed where I wanted. From there, I put as20 on a side of the tag, duplicated, and mirrored. Next, I put as43 in the center with as23 in front of it, but I changed the properties on as43 as Luminance (L). This makes the color change. I placed as59 and as97 where I wanted, and I used bevel on both of them. After this, you use whatever tube you want with whatever statement you like to make on it. Plus, never forget, your copyright and watermark. Thanks for viewing my tutorial page and come back anytime. My email is here to contact me anytime or show me what you did with my tutorial. I would love to see anyone else's versions of my tutorials because I know I like to see what you all can come up with that is different. Thanks for waiting on me!! Glad to be here and alive!
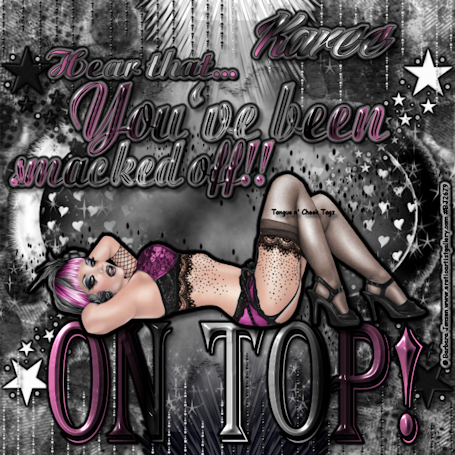
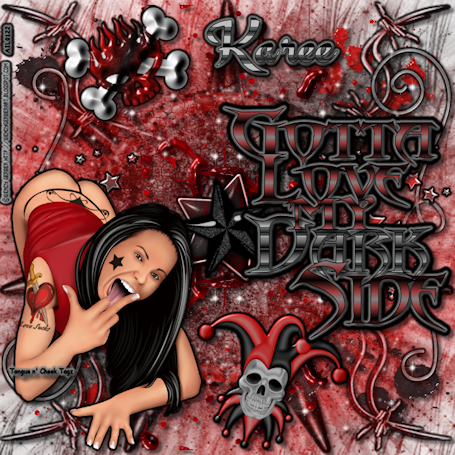
Below, I used a tube I had from AIL by Wendy Gerber with the some differences in the background, and I used the tube Roxy by Verymany at Picsfordesign you can get here on the on top tag. Enjoy!

Wednesday, November 6, 2013
I am back...
I am back to making tags, so it is time for anyone to get to the group at new.boomerplace, and anyone who wants to grab my tags to be with us. I have most of a tag created to put here, but I am working on it, still. Look forward to more from me! I am so happy to be back!!
Wednesday, June 26, 2013
Missing tags, artists, and friends...
Ok, so I have had quite a time with all my great friends knowing what I have been going through, but I feel like I might get closer to where I need to be to pull this all back together. Granted, it will take time, but I know I have a good support system. I have some great friends who tell me they love my work, and I love them for waiting forever for me. For those of you who think I am that good, I hope you know I love you. I am a fighter and will be because this is something I love to do! When I do come back, I hope to include a new person in the group and as many old ones and new ones as I can get because I want to come back big! I want the tag world to know I am back, so I can show you I might have taken a long time to get better but I can come back just as good! I am still CT for AIL and Pink creationz/Starz Creationz, as far as I know. They keep me, I hope, but I want to expand, too. If you like my creationz and want my work on your wall, I would be flattered! I am coming back to New Boomer place when I can, but I still can't give an exact date. I just know that I haven't done enough self advertising as I want or need, so help me spread this word out there! I love my friends, family, and supportive folk who have followed me through all this hell. Love and hugz to all~~ Karee See you as soon as I can get there. :)
Friday, February 15, 2013
Not sure how long I will be gone...
I am in the hospital at the moment, so I had to take a break. It was very unexpected, but I hope to be home in a lot less time than I was before! I had already started on a tag with a FTU kit and awesome tube from Artistically Inclined Licensing! Look forward to that, and soo much more! I miss tagging, so I will have a lot more! You can still email me. Hugz~~ Karee
Ok, adding this April 5th because of how this is going. I am going to get my leg taken care of with some pelvic bone because of an infection I have. It is going to take longer, but I won't quit making when I get home. I miss this and my tag friends so much!
Ok, adding this April 5th because of how this is going. I am going to get my leg taken care of with some pelvic bone because of an infection I have. It is going to take longer, but I won't quit making when I get home. I miss this and my tag friends so much!
Subscribe to:
Posts (Atom)
About Me
- Karee
- Dismal, Kansas, United States
- My name is Karee, and I am a single woman with no kids, except my cat, Onyx. I have been doing tags and PSP for quite some time. It has to be over 6 years, but I haven't kept track. It is what I do to relax and have fun. I run a tagging group on My New Boomer Place, but it is called Grade A Smartasses! Come over there to join in. Hoping to have more FTU and PTU tuts here for you all. Tongue n' Cheek Tagz means I put a statement on my tags, so mine have more than just a name on them! Hugz~ Karee Btw, I can't seem to get blinkies to work on my page for right now. I CT for AIL and follow a lot of blogs. As soon as I can get them to work, I will try to get the blinkies up to make them accessible.
Grab my blinkie

Blogs I fav/CT

TWI