My Blog List
-
-
-
Friday. New Kits loaded to PFD8 years ago
Subscribe To


Saturday, November 16, 2013
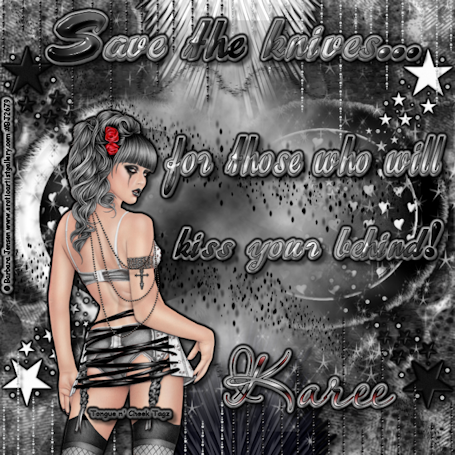
 PTU - Keith Garvey Before You Judge Me

I used the wonderful work of Keith Garvey on this that you can get here. My scrap kit is called Black Velvet by Starz Creationz that you can get here. I use PSP X2 Ultimate, so let's get started. Using a 700 x 700, I started with three papers 5, 6, and 10. I used three different masks called SD Mask #2, SKDS circle mask 2, and Sparkle Mask 1 by Tonya. They are all available at Creative Misfits here. I play with my masks by stretching and making them smaller. I took element 43 Feather, and element 46 White Feather. Each of them, I placed where I wanted and, throughout, I gradient glowed and dropped shadow where I liked. I took frame 6 and frame 7 to size them how I wanted. Individually, I sized each and used the magic wand. Selections, Modify, and expand to what size will cover the size you make with element 64. If you need to change element 64's size to fit, you can resize and make it bigger. I promoted layer, deleted the old layer, and put the promoted layer behind the frame for each one. Then, I merged both frames and ball layers together, placed them where I wanted them side by side, and I merged those layers down together. In front of that, is element 20 Sparkles that I put where I wanted, duplicated, and mirrored, so I could have them where I wanted. I took elements 30 White Starz and 31 Black Starz, so I could have them in the corners I wanted. With each element, I duplicated, mirrored, and flipped, so each color would be in separate corners. I merged the Black Starz together and the White Starz layers together for more control. My paper 5 and mask by Tonya are in front of that, and I made it smaller with a flip to it, so my element 11 Glitter could be seen in the image. In front of the paper/mask layer, there is element 12 Splatter placed where I wanted, duplicated, and mirrored. They are not together and are far enough apart, so you can see both splatters from below and above. I placed my words Judge Me in the next layer, but for the background you use the 11 Glitter where you want it and flip it to have two on the image. For the front layer of my background, I place element 5 and element 6 Pearls in the places from the top that I wanted, merged the layers, duplicated, and flipped, so it could be at the bottom, too. From there, I put my tube, my copyright, watermark, wording, and name on it. Below are two more I made with the background changed a little. Both are using the wonderful art work of Barbara Jensen you can get here. Hope you enjoy the tut, and you can always send me remarks, show off tags, questions, etc. at the email on my page.

Subscribe to:
Post Comments (Atom)
About Me
- Karee
- Dismal, Kansas, United States
- My name is Karee, and I am a single woman with no kids, except my cat, Onyx. I have been doing tags and PSP for quite some time. It has to be over 6 years, but I haven't kept track. It is what I do to relax and have fun. I run a tagging group on My New Boomer Place, but it is called Grade A Smartasses! Come over there to join in. Hoping to have more FTU and PTU tuts here for you all. Tongue n' Cheek Tagz means I put a statement on my tags, so mine have more than just a name on them! Hugz~ Karee Btw, I can't seem to get blinkies to work on my page for right now. I CT for AIL and follow a lot of blogs. As soon as I can get them to work, I will try to get the blinkies up to make them accessible.
Grab my blinkie

Blogs I fav/CT

TWI

0 comments:
Post a Comment