My Blog List
-
-
-
Friday. New Kits loaded to PFD8 years ago
Subscribe To


Showing posts with label Celinart. Show all posts
Showing posts with label Celinart. Show all posts
Wednesday, February 26, 2014
 Pleasantly Dire CT for SS Dran Design
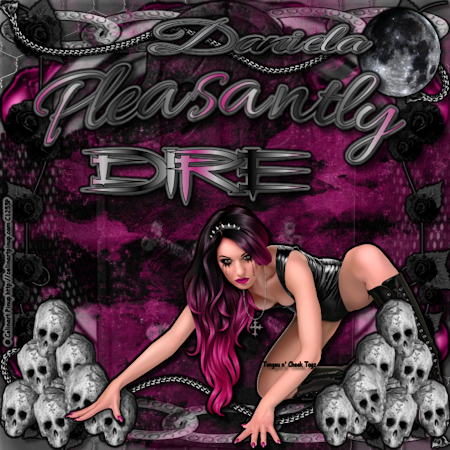
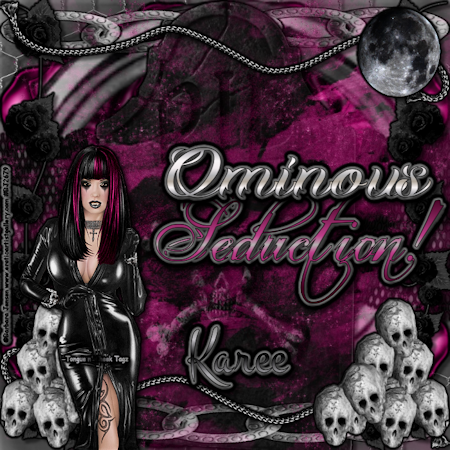
I used SS Dran Designs beautiful kit Dark N Sexy! You can get it at S&Co here. The tube is the gorgeous work of Celinart that you can get here. Ok, let's start with your 700x700 new image. I used papers 1 and 5. The masks I used were 021LT and 9. These you can get at Creative Misfits Creations here. You can gradient glow and/or drop shadow wherever and whenever you want. My last layer is paper 1 with the first mask. In front of that, I have element 11. I put it where I wanted it to be seen, duplicated, mirrored, duplicated, flipped, duplicated, mirrored, and merged all of them down. Element 41 is in front of that. I did the same as I did with the element before with placing it where I wanted it, and I duplicated it to have four with one in each corner. Element 7 is in front of that which I made to cover the whole page to be seen. Element 33 is in front of that. I put it where I wanted it seen, duplicated, mirrored, and merged the layers down. Element 37 was put in front of that, but I evened it to make it straight across the top. I duplicated the layer, but I put element 25 between them. That way, one is behind the grave stone, and the other is in front of it. My paper 5 with the other mask is in front of that. Element 9 is in front of that. I placed it where I wanted it to be seen, either on top of bottom, so you can duplicate, flip, and merge the layers together to have one on top and one on bottom. Element 34 is in front of that. I placed one on a side where I wanted it, duplicated the layer, mirrored, and merged down. Element 46 is in front of that. I placed it how I wanted on top, duplicated, flipped, mirrored, and merged down. That way, I have them on top and bottom going opposite ways. One of my tubes is in front of that with element 17 in front of it. I duplicated the tube and erased what I needed to have her hands in front and her foot behind it all. Element 8 was placed in the upper right corner where I wanted it. From there, I put copyright, watermark, and name on it to make it a finished product. Below, I have three more I made to have different looks. The tubes are from Alex Prihodko, Trinita, and Barbara Jensen. Hope you enjoy and my email is available for any comments or showing off tags you did from my tutorial! Hugz~~ Karee


Monday, February 17, 2014
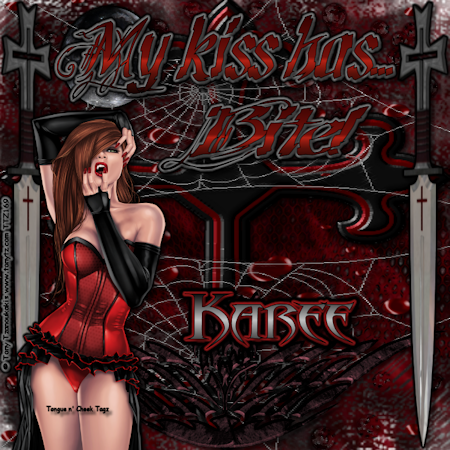
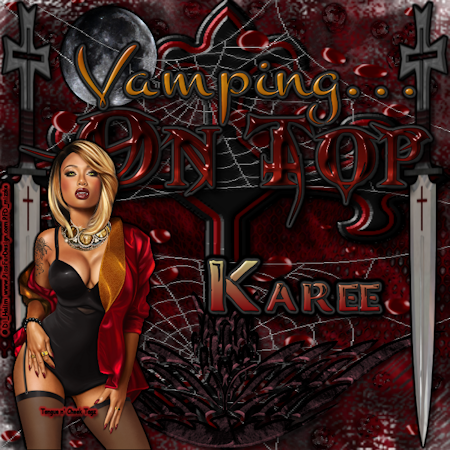
Beautifully Chaotic - CT for SS Dran Designs

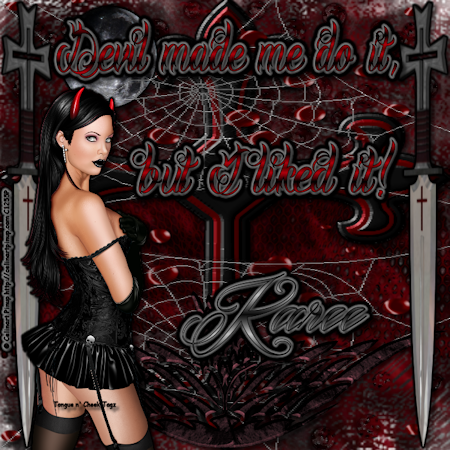
I made this, so it is my own and an original creation. I used the The Undead Beauty kit by SS Dran Designs that you can get at PFD here, and you can get it at S&Co here. The tube is Beauty by The Hunter at S&Co here. Ok, open your image at 700x700, and we can get started. I used papers 5 and 6. Masks used were WSL_Mask3 and WSL_Mask6. You can find them at weescotslass creations here. She has them in bulk to download. The paper 5 with Mask 3 is the last layer, so I put element 73 in front of it where I wanted it, duplicated, flipped, and merged down. This way, I had one on top, and one on the bottom. Gradient glow and/or drop shadow wherever and whenever you need or like. Element 68 is next. I placed one in the middle where I wanted, duplicated, mirrored, and merged them down. The next layer is paper 6 with mask 6. Element 1 is in front of that. I made it huge and put it as a major part of the whole thing. Element 76 is in front of that. I placed it how I wanted, duplicated, flipped, and merged down, so I had it on the top and bottom the way I wanted. Element 25 is next. It was duplicated and flipped, but the duplication is on another layer. Element 71 was in front of that. I used eye candy 5's bevel on it. I made it so it could go on the bottom like that, duplicated, mirrored, and merged down. Element 9 is in front of that the place I wanted it to show. In front of that, I have the duplicated web layer. The layer in front of that has element 8 on it. I put one on a side where I wanted it, duplicated, mirrored, and merged down. From there, I put the tube on, artist's copyright, my watermark, and the name. I have three below that are using Tony T, Celinart, and Di Halim for the same background with different statements! Enjoy, and you can contact me at my email anytime. Hugz~~ Karee
Subscribe to:
Posts (Atom)
About Me
- Karee
- Dismal, Kansas, United States
- My name is Karee, and I am a single woman with no kids, except my cat, Onyx. I have been doing tags and PSP for quite some time. It has to be over 6 years, but I haven't kept track. It is what I do to relax and have fun. I run a tagging group on My New Boomer Place, but it is called Grade A Smartasses! Come over there to join in. Hoping to have more FTU and PTU tuts here for you all. Tongue n' Cheek Tagz means I put a statement on my tags, so mine have more than just a name on them! Hugz~ Karee Btw, I can't seem to get blinkies to work on my page for right now. I CT for AIL and follow a lot of blogs. As soon as I can get them to work, I will try to get the blinkies up to make them accessible.
Grab my blinkie

Blogs I fav/CT

TWI