My TOU
My personal TOU is:
Do not post my entire tutorial on any sites. Just share the url link. All my tutorials are of my own creations and can't be claimed as your own. Any resemblance to other tutorials is purely coincidental. If you need to contact me for any reason, you can reach me at mizzundaztood1@gmail.com. Also, if you would like to share your tut results with me, please send them to the above e mail address. I would love to see your view on what I have here! Hugz~ Karee
Do not post my entire tutorial on any sites. Just share the url link. All my tutorials are of my own creations and can't be claimed as your own. Any resemblance to other tutorials is purely coincidental. If you need to contact me for any reason, you can reach me at mizzundaztood1@gmail.com. Also, if you would like to share your tut results with me, please send them to the above e mail address. I would love to see your view on what I have here! Hugz~ Karee
My Blog List
-
-
-
Friday. New Kits loaded to PFD8 years ago
Followers
Monday, March 3, 2014
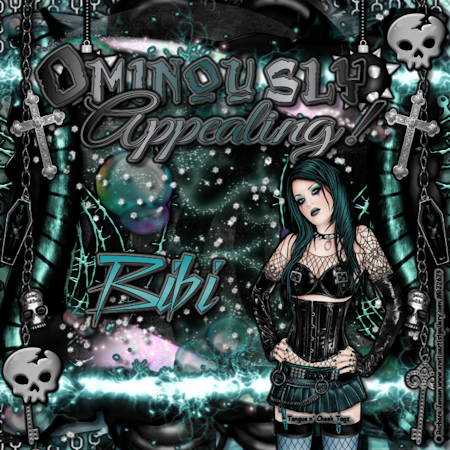
 Ominously Appealing

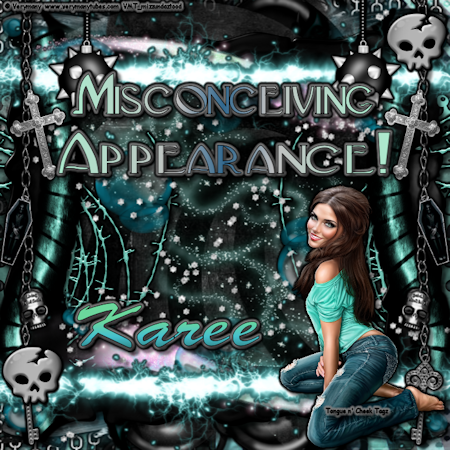
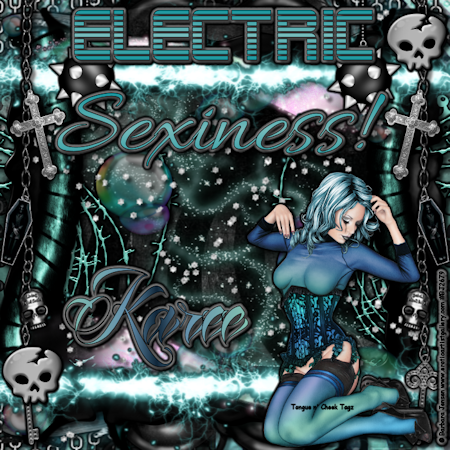
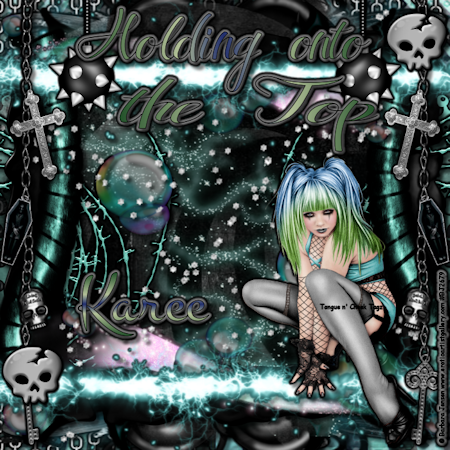
I am using the wonderful kit Baby Blue by Bibi's Collection. You can buy it here at S&Co. The art work is from Barbara Jensen. That tube you can get here. Of course, I did some coloring on it to make it match the background with the hue and saturation. Let's open a 700 x 700 and get started. I used papers 5, 1, and 2, and I used masks TBT_CircleMask2, ApCircle4, and AR315_CMC_mask85. These masks are from Creative Misfits Creations here. My last layer is paper 5 with the last mask on it. The next layer is paper 1 with the first mask on it. Element 5 was put in front of that big enough to see in certain parts. Make sure you gradient glow and/or drop shadow whenever and wherever you want. Element 16 is in front of that. I made it big to cover the top the way I wanted it to be seen, duplicated, flipped, and merged those layers down. Element 23 was put in front of that in a corner as I wanted to be able to see part of it. I duplicated, mirrored, duplicated, flipped, duplicated, mirrored, and merged all four layers down, so I could have four if them where I wanted to see them. Element 21 is in front of that where I wanted to see it, so it is more in the center. I put it where I wanted to see it, duplicated, flipped, and merged the layers together to have one on bottom and top. Element 49 is in front of that placed where I wanted to see it. I duplicated, flipped, and merged those layers down to have them on top and bottom. Element 57 is in front of that. I put it on a side, so I could see if coming out, so I had to rotate it. From there, I duplicated, mirrored, and merged the layers down. In front of it, there is paper 2 with the second mask. Element 71 is in front if that layer. I placed it how I wanted to see it and just left one layer. Element 54 is in front of that. It was put on the side to show what I wanted of it, duplicated, mirrored, and merged down. Then, I put element 43 in front of that. I used Eye Candy 5 bevel on it, and I put it not look like a frame, but go with the background. Element 55 is in front of that. I put one on a side where I wanted it, duplicated, mirrored, and merged the layers down. It covers, but allows you to see the frame. Element 62 is in front of that. I got it where I wanted, duplicated, flipped, mirrored, and merged them down. That way it was going the opposite direction. Element 48 is on there next. I have two layers of it. The under one is colored like the tag below, and the regular colors are put on top of that. Make sure you get them even, if you change the size of them. Element 35 is in front of that. I put it how I wanted it, duplicated, flipped, moved the bottom part around how I wanted, and I merged the layers down. Element 22 is in front of that. I placed on on the top where I wanted, duplicated, flipped, and merged the layers down. Element 33 is in front of that. I put one on the side how I wanted, duplicated, mirrored, and merged down. Element 68 is in front of that. I used Eye Candy 5 Bevel on it, duplicated, put them where I liked them, and merged the layer down. Element 2 is in front of that. I put it where I wanted it, duplicated, mirrored, and merged down. From there, I put my tube, my copyright, my watermark, and a name. Below, I have a tag with a Vermany tube and a change in some of the background, and two more with Barbara Jensen tags on them. My email is there for questions and/or any tags you would like to show me. I would appreciate it! Hugz~~


Subscribe to:
Comments (Atom)
About Me
- Karee
- Dismal, Kansas, United States
- My name is Karee, and I am a single woman with no kids, except my cat, Onyx. I have been doing tags and PSP for quite some time. It has to be over 6 years, but I haven't kept track. It is what I do to relax and have fun. I run a tagging group on My New Boomer Place, but it is called Grade A Smartasses! Come over there to join in. Hoping to have more FTU and PTU tuts here for you all. Tongue n' Cheek Tagz means I put a statement on my tags, so mine have more than just a name on them! Hugz~ Karee Btw, I can't seem to get blinkies to work on my page for right now. I CT for AIL and follow a lot of blogs. As soon as I can get them to work, I will try to get the blinkies up to make them accessible.
Blogs I fav/CT


