My TOU
My personal TOU is:
Do not post my entire tutorial on any sites. Just share the url link. All my tutorials are of my own creations and can't be claimed as your own. Any resemblance to other tutorials is purely coincidental. If you need to contact me for any reason, you can reach me at mizzundaztood1@gmail.com. Also, if you would like to share your tut results with me, please send them to the above e mail address. I would love to see your view on what I have here! Hugz~ Karee
Do not post my entire tutorial on any sites. Just share the url link. All my tutorials are of my own creations and can't be claimed as your own. Any resemblance to other tutorials is purely coincidental. If you need to contact me for any reason, you can reach me at mizzundaztood1@gmail.com. Also, if you would like to share your tut results with me, please send them to the above e mail address. I would love to see your view on what I have here! Hugz~ Karee
My Blog List
-
-
-
Friday. New Kits loaded to PFD8 years ago
Followers
Tuesday, September 30, 2014
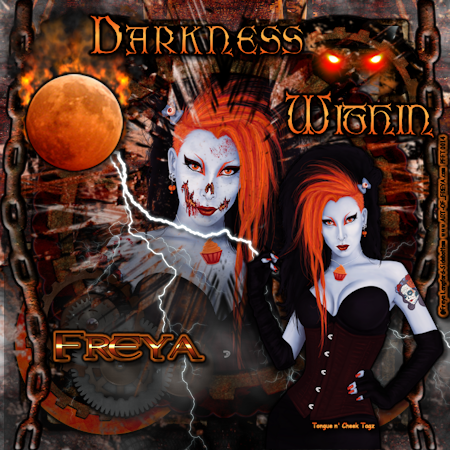
 Darkness Within ~ CT Freya Langford-Sidebottom PTU

I am using the beautiful tube from the September emag of Pinup Fantasies that you can get here. There more tubes in the mag. Plus, you can add their Facebook page to learn more about the issues as they go here. The kit I used was called Dread 107. I bought it here, and it is by Digicats (and Dogs). Ok, I started with my usual 700 x 700 image. Gradient glow and/or drop shadow whenever you want to. I am at a loss right now cause my pick option isn't working, so I have to resize everything, instead. Hope it is easier for you. I used papers 3, 8, and 13. The masks I used were hsqm0y, AP_SparkleMask1, and BreezeGrungeMask1. I am thinking I got these from Creative Misfits Creations here. Below, is the first mask in case you can't find it. My bottom two levels are paper 3 with the hsqm0y tag. One of them is as it is, and the other is flipped. Frame 04 is the next layer sized to your liking. Frame 07 is next I put one to be seen on one side, duplicated, mirrored, and merged down. You might save it to do later, but the Spider Web is next, and it is sized to fit like it is in the Frame 02. I duplicated, mirrored, flipped, and merged down. Paper 8 is next with the Breeze mask. Get it to look how you want cause my sizing changed it some. Frame 02 with the promoted selection from the tube with the gore are the next layers. In front of that, paper 13 with the AP mask. Place it how you want your tube to be seen. Fog element is the next layer, but I colored it how I wanted it. The rusted chain is next put the way you want it. I duplicated, mirrored, and merged down. The lightening element is next, and I put it to look like it was coming from the moon. The fireball element I put where I wanted, duplicated it, mirrored, and merged down. In front of it, I put the moon, so it looked like it was coming from it. The spooky eyes I place where I wanted. From there, I put my tube, my copyright, my watermark, my statement, and a name. I hope you enjoy the tutorial! I had fun playing with it. I have another pic I made from the same background below with a different tube from her. Hugz~~Karee
Tuesday, September 9, 2014
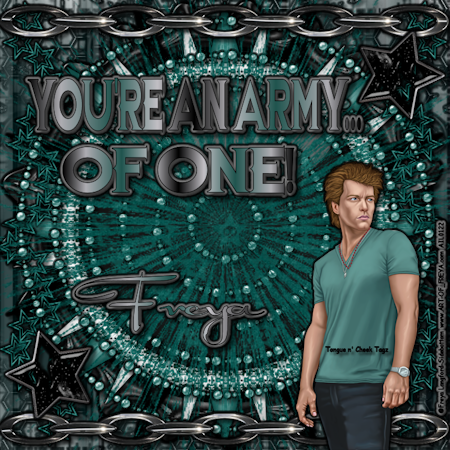
 FTU Army of One - CT Freya Langford-Sidebottom

I am using the fantastic art of Freya Langford-Sidebottom. Her art can be seen here. It is wonderful! This tube, you can get at artistically inclined licensing here. The FTU kit is from Wicked Princess Scraps here. The song I used can be heard/read because it is a lyric video here at that link. Reminder that you can gradient glow/drop shadow in this, whenever you would like. I start with my 700 x 700 image. I used papers 3, 14, and 15. Masks used are 099LT, 199InsatiableDreams, and 14v0509. I think you can get them at Creative Misfits Creations here. Paper 14 is using the first mask and is the last layer. Element wire1 is the next layer. I put it where I wanted it seen, duplicated, mirrored, duplicated, flipped, duplicated, mirrored, and merged all of them down. Skull3 is the next layer with the vines being seen where you want, and you do the same process. Glitter1 is the next layer with the same process as the first two. Paper 3 is next with the 14v0509 mask inverted transparency. Bottlecap2 is the next layer. I made it as big as I wanted and used eye candy 5 bevel. Frame2 is the next layer sized how you like it. Stars3 is the next layer from top to bottom. BeadedCircles is the next layer with size how I wanted. Paper 15 is next with the remaining mask. Chain element is next across top and bottom. Star4 is next sized and placed where I wanted, and I think I used bevel on it, too. From there, it is copyright, watermark, statement, name, and you have your tag! Hope you enjoy! Karee
Subscribe to:
Comments (Atom)
About Me
- Karee
- Dismal, Kansas, United States
- My name is Karee, and I am a single woman with no kids, except my cat, Onyx. I have been doing tags and PSP for quite some time. It has to be over 6 years, but I haven't kept track. It is what I do to relax and have fun. I run a tagging group on My New Boomer Place, but it is called Grade A Smartasses! Come over there to join in. Hoping to have more FTU and PTU tuts here for you all. Tongue n' Cheek Tagz means I put a statement on my tags, so mine have more than just a name on them! Hugz~ Karee Btw, I can't seem to get blinkies to work on my page for right now. I CT for AIL and follow a lot of blogs. As soon as I can get them to work, I will try to get the blinkies up to make them accessible.
Blogs I fav/CT


